A Detailed Step-by-Step Guide: How to Repair Your Camera Lens if it Becomes Damaged
Digital cameras are a daily part of our life. We use digital cameras on our mobile phones as a great photography tool. If you want to remember a moment of your life for a long time, then it is the best equipment to capture it. Even though it’s expensive, they are accommodating too and need extreme care. Cameras and lenses are really important tools for any photographer or anyone passionate about photography. They allow us to click on each stunning view of nature and they can help us capture the precious moments of our lives
Moreover, like any other tool camera lenses can experience many bad experiences, like being damaged, having scratches, or even being broken. To rescue us from these moments, we need a step-by-step guide to repair camera lenses if they become damaged. let’s get started!
How to Repair Your Camera Lens if it Becomes Damaged
Have you ever thought that you could fix a broken or damaged lens? Camera lenses are susceptible and need care while being used, as they can break easily. Therefore, it’s not surprising that photographers often have to fix their lenses. Let’s talk about the techniques and ways through which you can fix the broken camera lens.
Step 1: Assess the Damage
The first and most important step is to thoroughly examine your lens to check the extent of the damage. Check for any dents, scratches, or cracks on the camera lens or its body. Keep a record of any loose parts or broken parts which might need to be replaced.

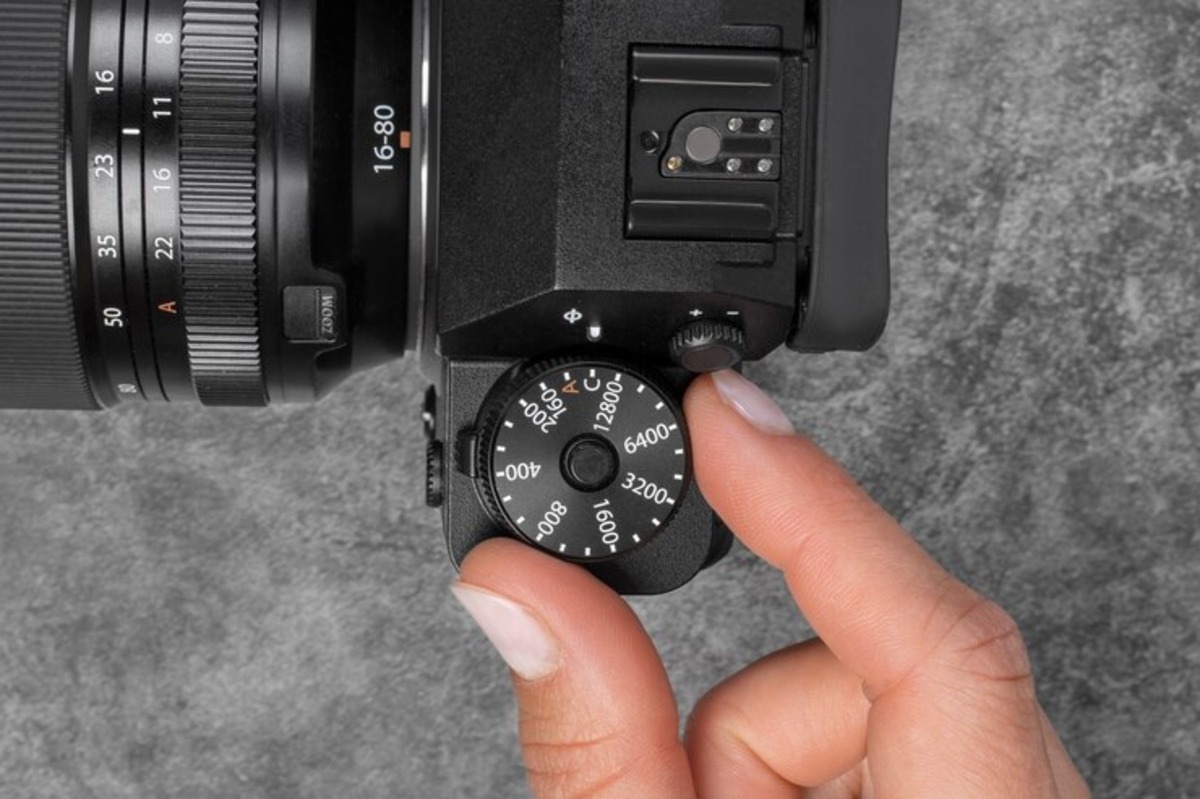
Step 2: Gather Your Tools
Before starting the camera repair process, make sure you have the mandatory tools in your hands. Things you need to fix a camera lens if it becomes damaged or broken, such as a lens cleaning solution, a lens repair tool kit with screwdrivers, a microfiber cloth, pliers, and many other necessary tools are usually what is required. These tools are easily available in any local camera store.

Step 3: Clean the Lens
It is necessary to clean the camera thoroughly if you are seeking to repair it. Try to remove all the dirt, dust, or any debris that may have accumulated. You can use a microfiber cloth to wipe the lens or any other cleaning solution to clean it. Taking care of your camera lenses does not scratch the glass, in fact cleaning it with proper care creates better results.

Step 4: Disassemble the Lens
If your damaged camera only requires a simple cleaning, you might need to disassemble the lens to access the affected parts. Your digital camera online guides or user manual must have a particular direction on how to take apart your lens model.

Step 5: Identify the Problem
Once you have taken apart the lens, carefully check each part to look out for the source of the main problem. Analyze to check any damaged or broken components, like lens elements, electronic contacts, or any focusing mechanisms. Identify carefully and note that any parts need to be replaced.

Step 6: Make the Necessary Repairs if Needed
Digital camera lens repairs may include different repairs such as realigning misaligned parts, repairing electronic connections, or replacing a cracked lens element, depending on the type of damage. However, follow the provided instructions with your repair kit and make sure that each repair is done correctly.

Step 7: Put the Lens Back Together
Once you have finished the repair work, carefully put back together the lens, and make sure to align each part correctly. Carefully tighten any bolts or screws with the right tools. Just carefully tighten them so as not to over-tighten them it can cause damage.

Step 8: Test the Lens
It is mandatory to test your newly fixed camera before putting it back into regular use. Put back together the lens to the camera body and take some testing shots to check if there is still any issue. Such as testing the camera sharpness properly, and checking the image quality. If everything working perfectly, then you are ready to use it again.

Preventing Future Camera Lens Damage
Fixing your damaged camera once is not enough, you should consider some important techniques as well for future use. Such as:
Use Lens Caps and Filters:
Remember to always use the lens caps and filters to protect the camera lens from any scratches, dirt, dust, or any other severe damage.
Store Properly:
When you are not using your digital camera frequently, try to store it protectively, such as trying to cover it with dirt dirt-perfect bag or air-tighting your camera into any other secure box that can prevent it from entering dust.
Clean your Camera Regularly:
Try to clean your camera lens regularly. Use the microfiber cloth to remove the dirt from it. Do not use any harsh cleaning solutions that can damage it.
Final Thought:
Overall, by following the above guidelines, you can save your damaged camera from any severe issue by yourself. Moreover, do not feel shy about looking for any professional help if it is needed. With the right tools and proper guidelines you can save your important photography tool.